一、前期环境准备
| 名称 | 版本 | 备注 |
|---|---|---|
| centos | 7.4 | 关闭防火墙,selinux, |
| nginx | 1.18.0 | |
| php | 7.4 | |
| mysql | 5.7.30 |
补充更新: 1.为什么用的是centos 7.4,因为目前威联通(版本号:QTS 5.1.0)最高也就支持centos7.4。 2.wordpress后期不支持php 7.1.24了,因此可以跳过7.1.24这个版本,从7.4开始安装。11
二、使用虚拟机安装centos7.4
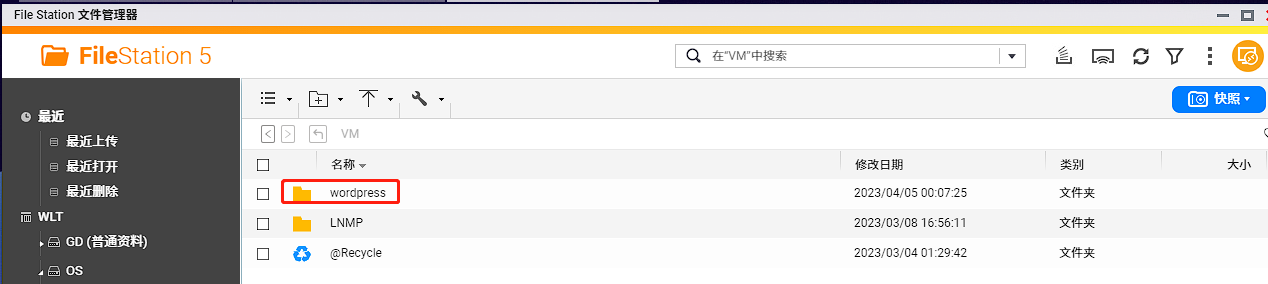
1.新建目录
新建一个文件夹用于存放centos的虚拟机文件
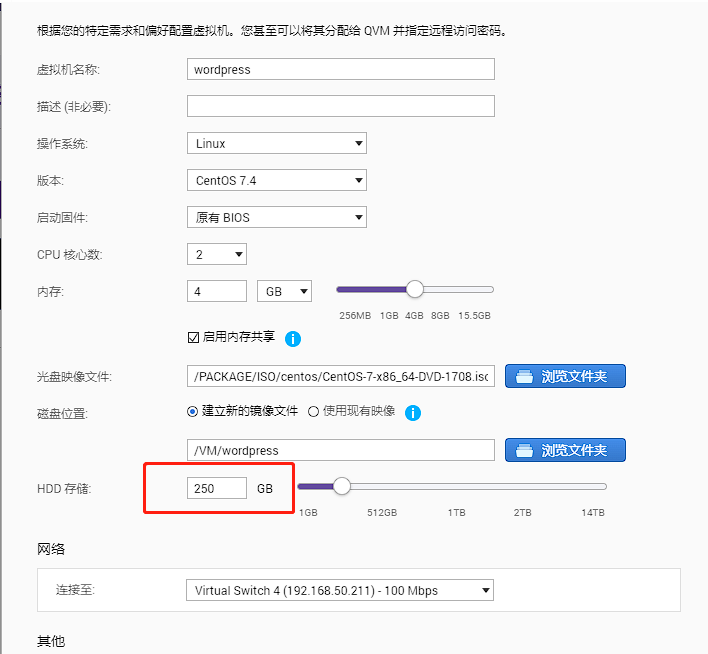
2.新建虚拟机
新建centos的虚拟机,容量看自己需要(红框)。
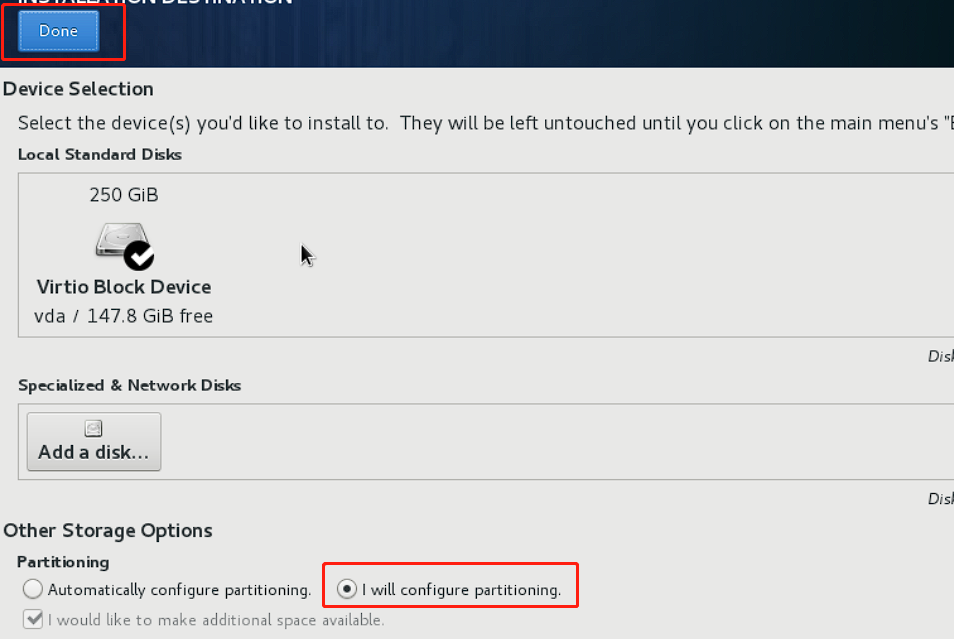
3.开始安装
点击红框,开始安装:

安装设置:
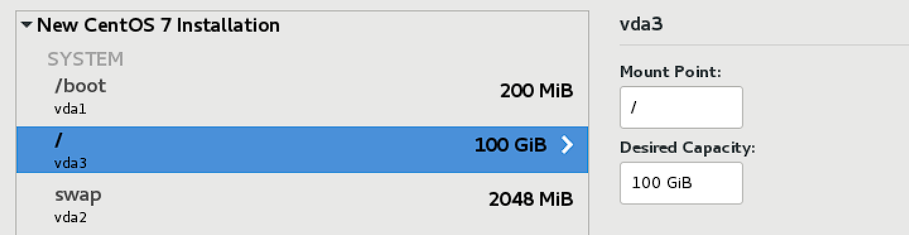
语言:英语; 时间:调整; 时区:调整; 安装方式:Minimal Install,Development; 硬盘:
网络:hostname,随意;
开始安装后,添加管理者密码,等待安装完成。
4.挂载系统盘,安装net-tools,vim
[root@LNMP mnt]# cd /mnt
[root@LNMP mnt]# mkdir centos7
[root@LNMP mnt]# mount /dev/sr0 /mnt/centos7
mount: /dev/sr0 is write-protected, mounting read-only
[root@LNMP mnt]# cd /etc/yum.repos.d
[root@LNMP mnt]# mkdir other
[root@LNMP mnt]# mv ./*.repo ./other
[root@LNMP yum.repos.d]# vi centos7.repo
[centos7]
name=centos-server
baseurl=file:///mnt/centos7
enabled=1
gpgcheck=0
#设置开机自动挂载系统盘
[root@wordpress ~]# vim /etc/fstab
/dev/cdrom /mnt/centos7 iso9660 defaults 0 0
[root@wordpress ~]# mount -a
mount: /dev/sr0 is write-protected, mounting read-only
[root@wordpress ~]# ls /mnt/centos7 #能看到,说明挂载成功
CentOS_BuildTag EFI EULA GPL images isolinux LiveOS Packages repodata RPM-GPG-KEY-CentOS-7 RPM-GPG-KEY-CentOS-Testing-7 TRANS.TBL
[root@LNMP yum.repos.d]# yum clean all
[root@LNMP yum.repos.d]# yum list
[root@LNMP yum.repos.d]# yum -y install net-tools       #使用ifconfig
[root@LNMP yum.repos.d]# yum -y install vim             #使用vim
5.关闭防火墙,关闭selinux
[root@LNMP ~]# systemctl status firewalld.service
[root@LNMP ~]# systemctl stop firewalld
[root@LNMP ~]# systemctl disable firewalld
[root@LNMP ~]# getenforce
Enforcing
[root@LNMP ~]# setenforce 0
[root@LNMP ~]# vim /etc/selinux/config
改:7 SELINUX=enforcing #前面的 7,表示文档中第 7 行。方便你查找
为:7 SELINUX=disabled
[root@LNMP ~]# reboot
6.修改网络
[root@LNMP ~]# vim /etc/sysconfig/network-scripts/ifcfg-eth0
TYPE="Ethernet"
PROXY_METHOD="none"
BROWSER_ONLY="no"
BOOTPROTO="none"                                      #修改
DEFROUTE="yes"
IPV4_FAILURE_FATAL="no"
IPV6INIT="yes"
IPV6_AUTOCONF="yes"
IPV6_DEFROUTE="yes"
IPV6_FAILURE_FATAL="no"
IPV6_ADDR_GEN_MODE="stable-privacy"
NAME="eth0"
UUID="70e98f69-30f5-423c-9864-b6146a4d4684"
DEVICE="eth0"
ONBOOT="yes"
DNS1=8.8.8.8                                          #修改,添加
DNS2=192.168.50.1                                     #修改,添加
NETMASK=255.255.255.0                                 #修改,添加
IPADDR=192.168.50.49                                  #修改,添加
PREFIX=24                                             #修改,添加
GATEWAY=192.168.50.1                                  #修改,添加
[root@LNMP ~]# systemctl restart network